How to make logo for Audi R8 in SW?


this is the tutorial for people learning how to do "Audi R8".
-
Step 1:
open the body in an assembly.
then click New part in the drop-down list of Insert Components.
-
Step 2:
click edit part for the new part that is created and then choose the "offset surfaces" in the surface tab and then choose the front bonnet of the body.

-
Step 3:
then open this part in a new window for clarity.
after that draw the sketch that is in the pic on the right plane.
-
Step 4:
After drawing the sketch add a reference plane perpendicular to the line and at the point of the line as in the pic.

-
Step 5:
Knit the surfaces of the bonnet.

-
Step 6:
Draw the sketch on the reference plane that we created above.

-
Step 7:
extrude the sketch with the thin feature till the bonnet of the car.

-
Step 8:
After this offset the bonnet surfaces 5mm.

-
Step 9:
use "Cut with Surface" option to remove the waste part of the logo.

-
Step 10:
use "Delete body" feature to delete the bonnet an the offset surface.

-
Step 11:
use "Delete Face" to just smooth the face of the logo.

-
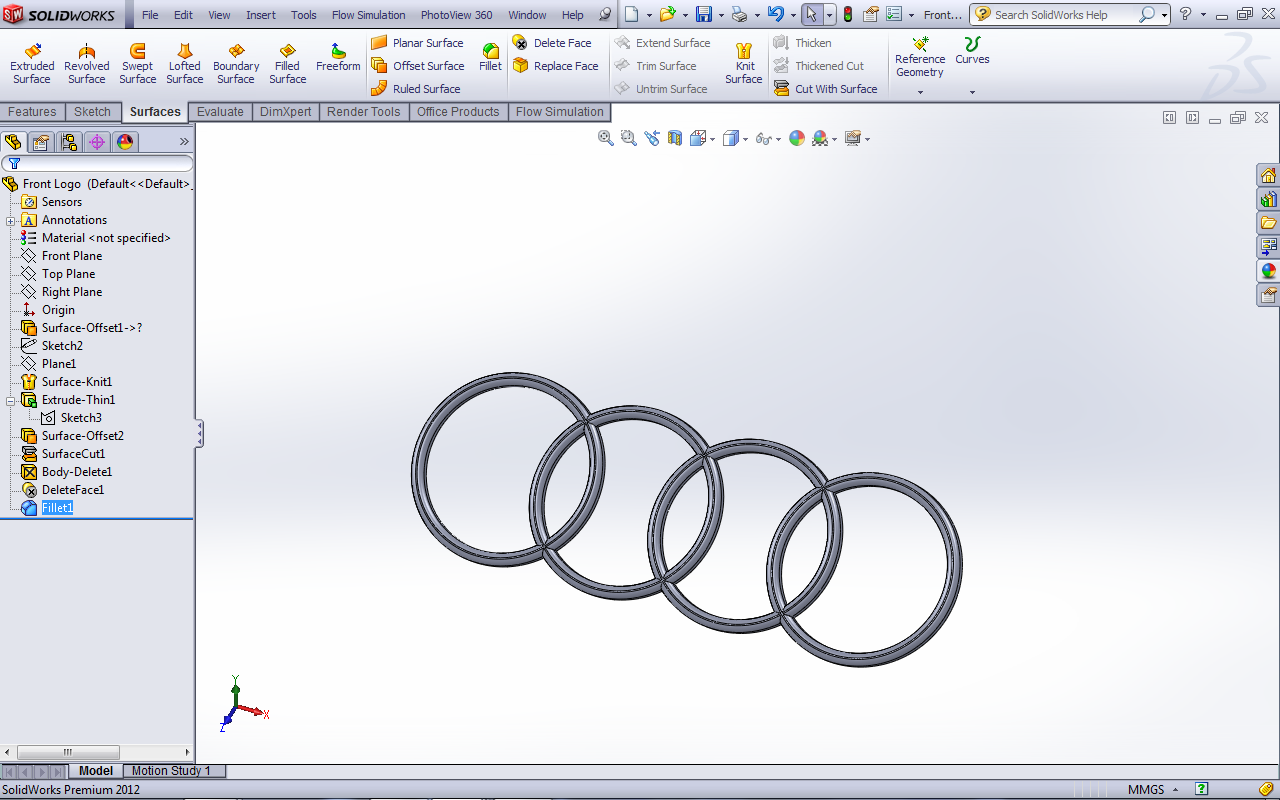
Step 12:
use "fillet" feature to smooth the edges
after this you will get the final product the completely finished Audi logo for Audi R8.