

Piston Compression Ring


This tutorial explains the step-by-step working process of modelling the piston compression ring which is available in my profile. This model will fit in the piston compression ring lands from the piston model and will be duplicated during the assembly process to accommodate two different types of the model.
Patrick Ray Samperuru - 2106718306
-
Step 1: Ring Sketch
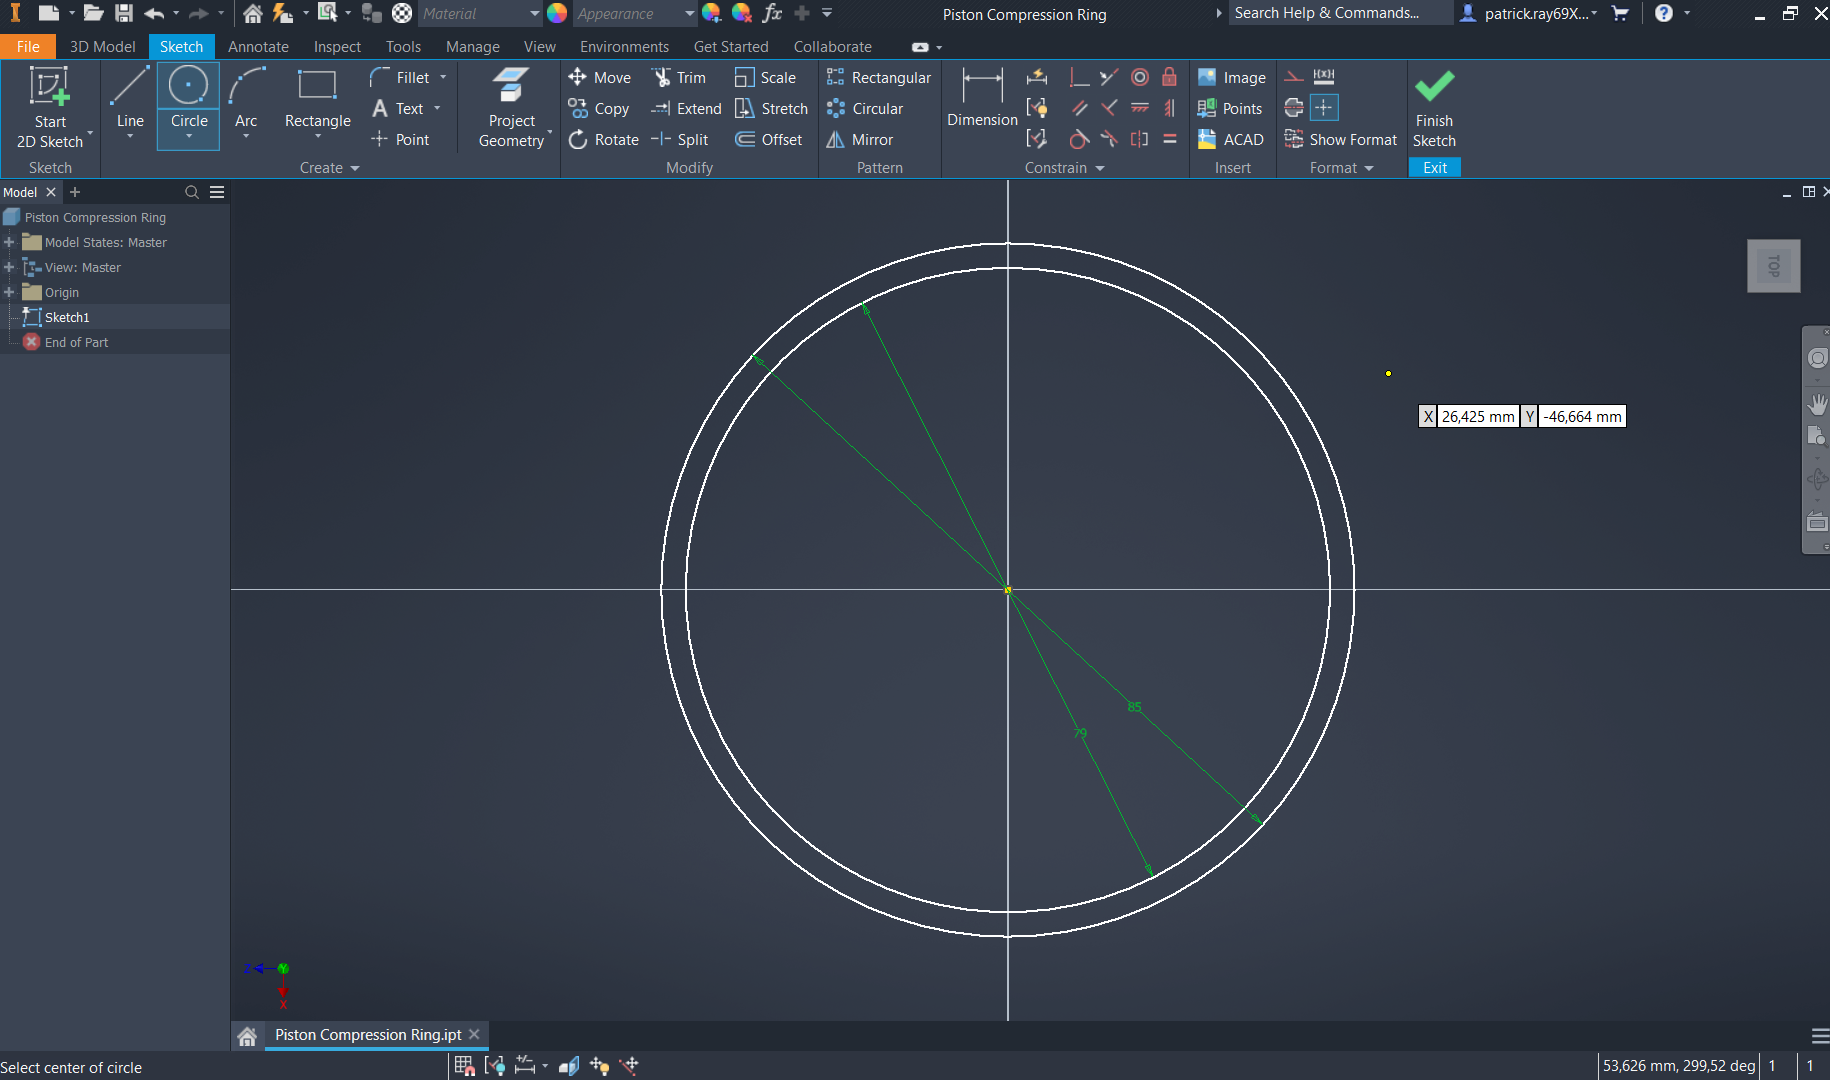
After creating a new drawing using mm dimensions, start a 2D sketch of a circle with a diameter of 85mm in the XZ plane.

Inside the 85mm diameter circle, draw a second circle with a smaller radius of 79mm as in the image below and click "finish sketch".
-
Step 2: Ring Extrusion
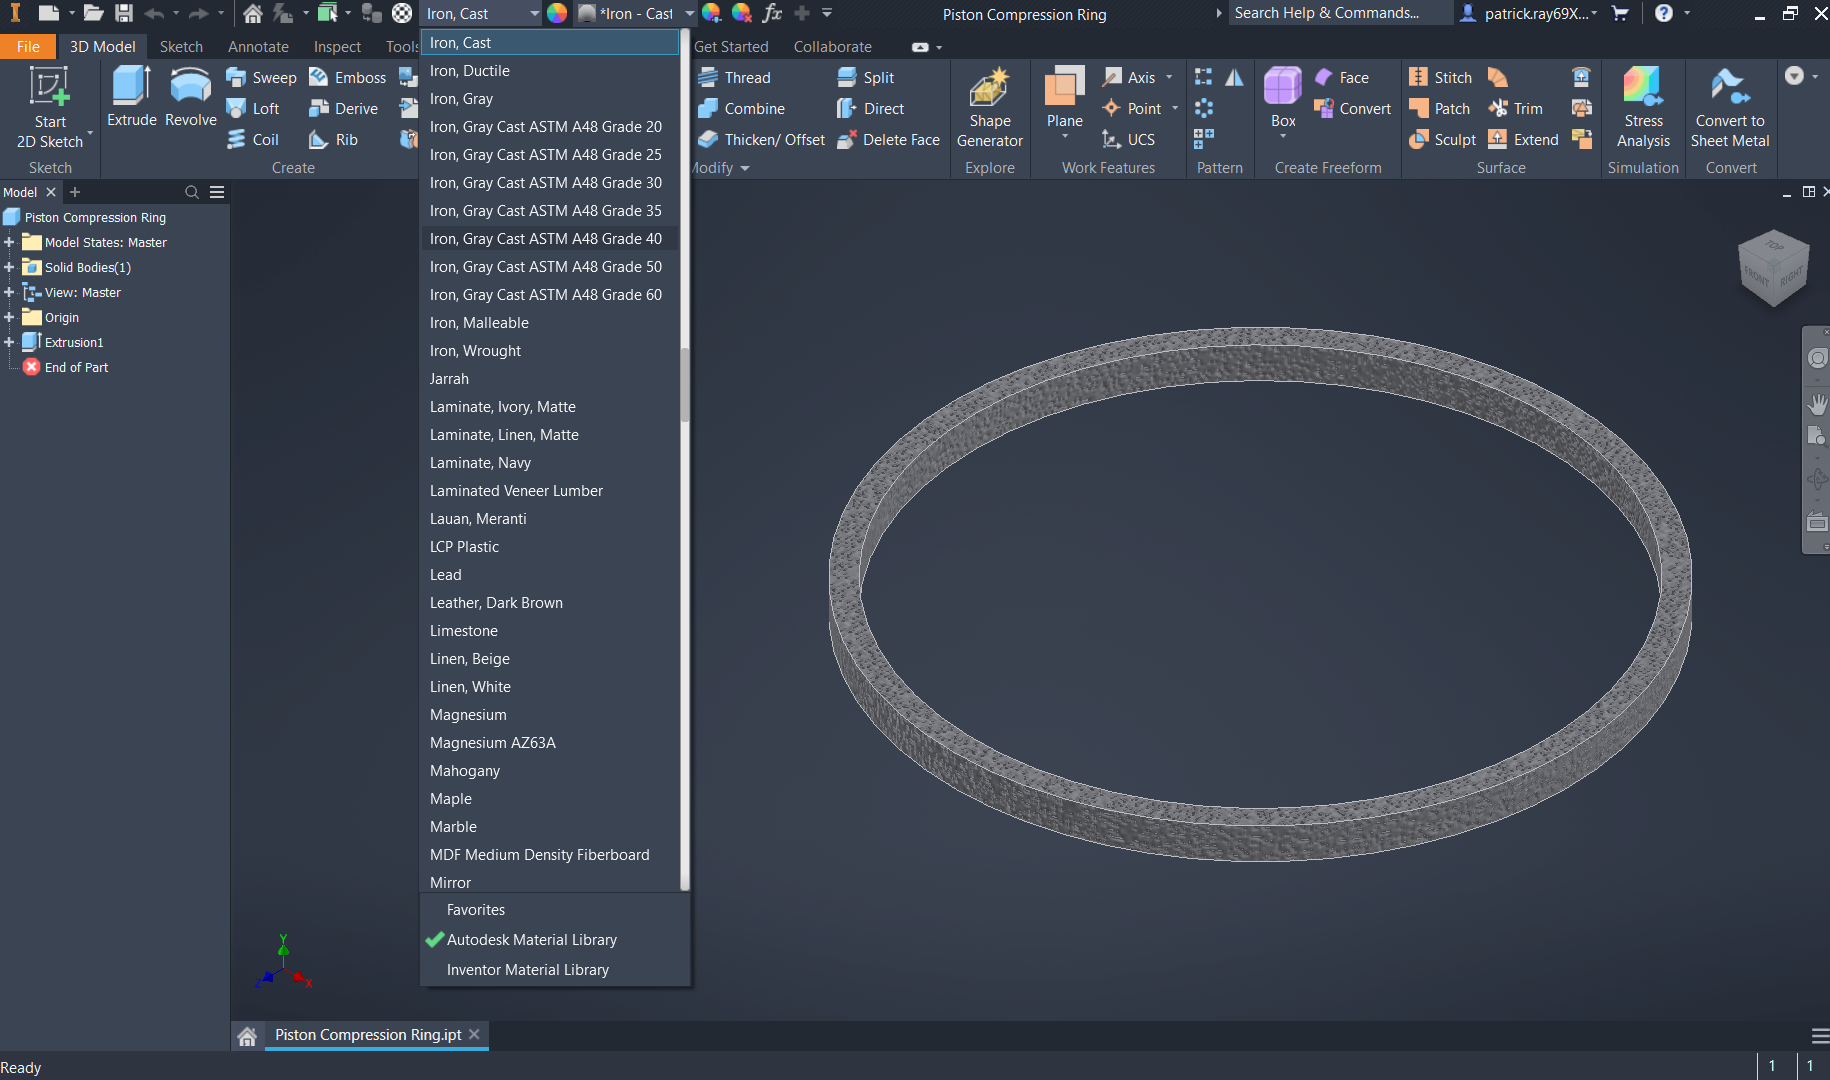
Select the "extrude" command in the 3D model section of the ribbon and select the hoop (circle between the 79mm and 85mm diameter circles). Input a distance of 4,3mm and maintain the default direction.

Change the material of the piston ring into "Iron - Cast" as it is a widely utilized material for piston rings given its ductility and resistance to wear.
-
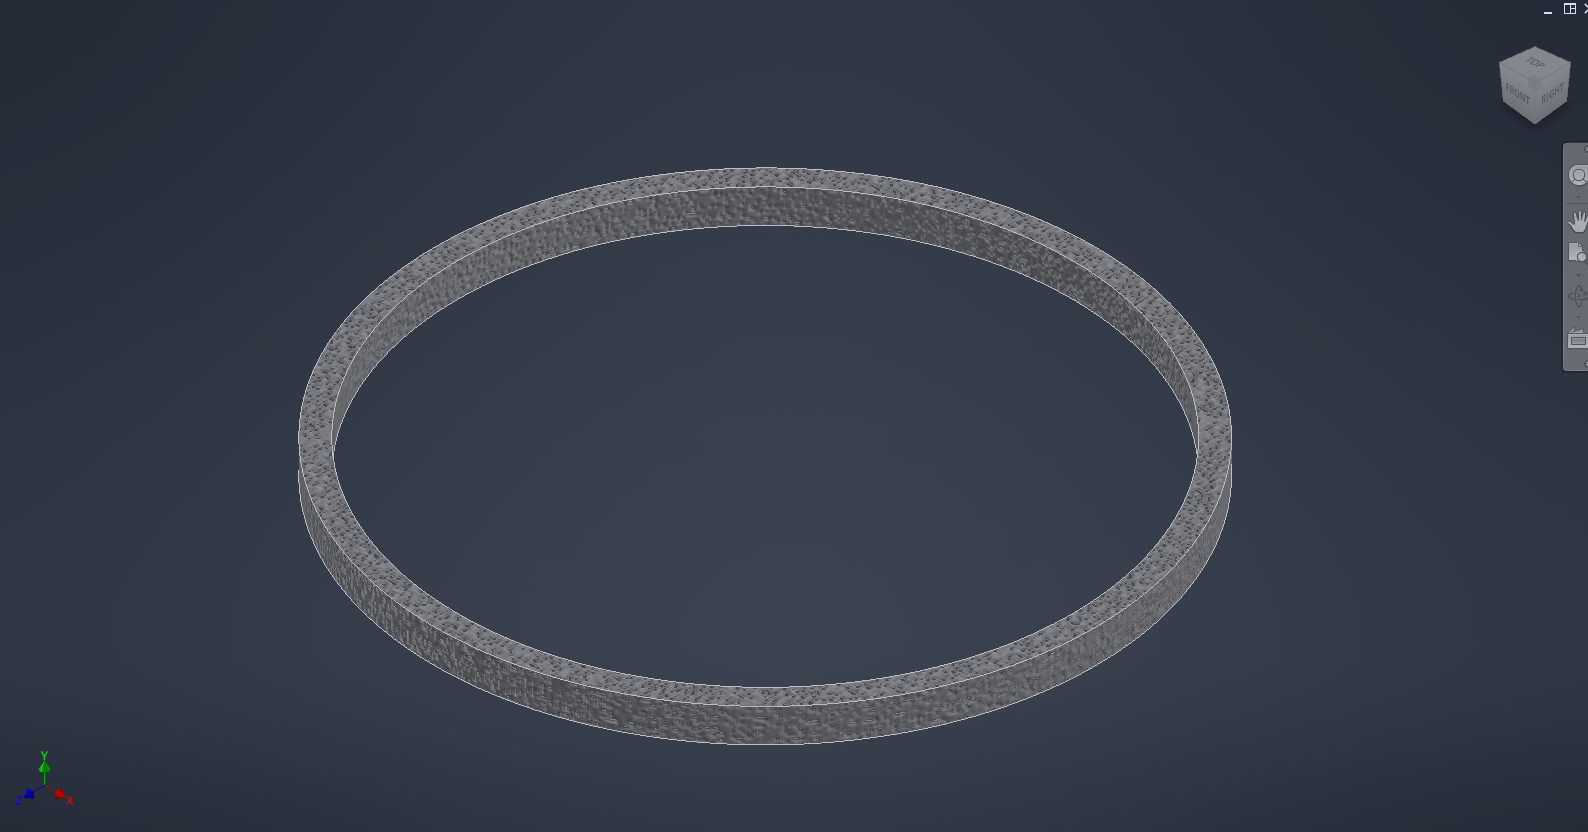
Step 3: Model Review
Top isometric view of the piston compression ring
Bottom isometric view of the piston compression ring
