

Tutorial - Basic surface modeling of mouse in SolidWorks?


Here is the tutorial.
-
Step 1:
Start SolidWorks in Part Mode.

-
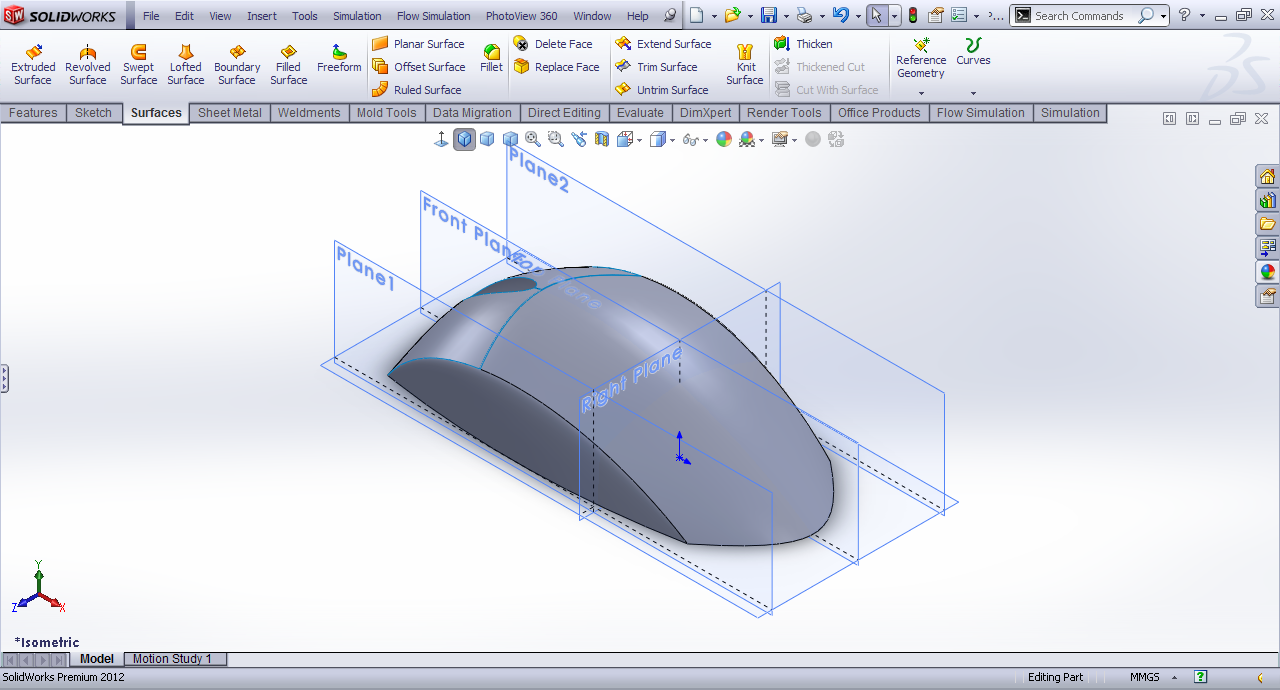
Step 2:
Front Plane>>Sketch and draw this entity using spline.

-
Step 3:
Now offset front plane by 30mm in both directions.

-
Step 4:
The planes are generated.

-
Step 5:
Plane1>>Sketch.

-
Step 6:
Draw a spline.

-
Step 7:
On plane2 Sketch the same entity using convert entity tool.

-
Step 8:
Under surfaces tab choose boundary surface.

-
Step 9:
Select the sketch in order and click OK.

-
Step 10:
Top plane>>Sketch.

-
Step 11:
Draw two symmetrical splines.

-
Step 12:
Trim the surfaces using those splines.

-
Step 13:
Top Plane>>Sketch.

-
Step 14:
Draw a spline like this one coincident to end point of surface.

-
Step 15:
Under surfaces tab choose lofted surface.

-
Step 16:
Select the edge and sketch and adjust the connector.

-
Step 17:
Now mirror the lofted surface body to other side

-
Step 18:
Under surfaces tab choose filled surface.

-
Step 19:
Select the bottom edges to form a filled surface.

-
Step 20:
Top plane>>Sketch.

-
Step 21:
Draw a spline and offset it by 0.25.

-
Step 22:
Trim the enclosed surface.

-
Step 23:
Again Top plane>>Sketch and draw a box symmetrical along horizontal axis.

-
Step 24:
Trim the enclosed region.

-
Step 25:
Top plane>>Sketch.

-
Step 26:
Make an ellipse.

-
Step 27:
Offset the button faces to inside.

-
Step 28:
Trim the faces using ellipse like this.

-
Step 29:
Top plane>>Sketch.

-
Step 30:
Make this profile.

-
Step 31:
Trim the bottom surface.

-
Step 32:
And we have the basic surface of the mouse body. It can be done more better if done with extra care.
-
Step 33:
The rendered image.
