How to create hexagonal nut in solidworks in simple steps

This tutorial explains how to create hex nut in solidworks in simple step.
-
Step 1: Selection of plane and basic sketch
Select the top plane and sketch on it

As we are creating M20 nut, draw two concentric circles.
The inner circle will be of diameter 20 and outer circle will be of diameter 20*1.5=30. (For smaller diameters, you can take the multiplier up to 2)

-
Step 2: Extruding the sketch
Select Extruded Boss

Extrude up to 15 mm and click ok.

-
Step 3: Adding chamfer
Add chamfer on both sides of the part

-
Step 4: Creation of hex shape
Select the top face as shown in figure

Sketch a hexagon using polygon command

We have convert outer edge into drawing, so go to convert entity and convert the edge

Go to extruded cut and select following contours.

All the contours between the hexagon and outer circle should be selected.

-
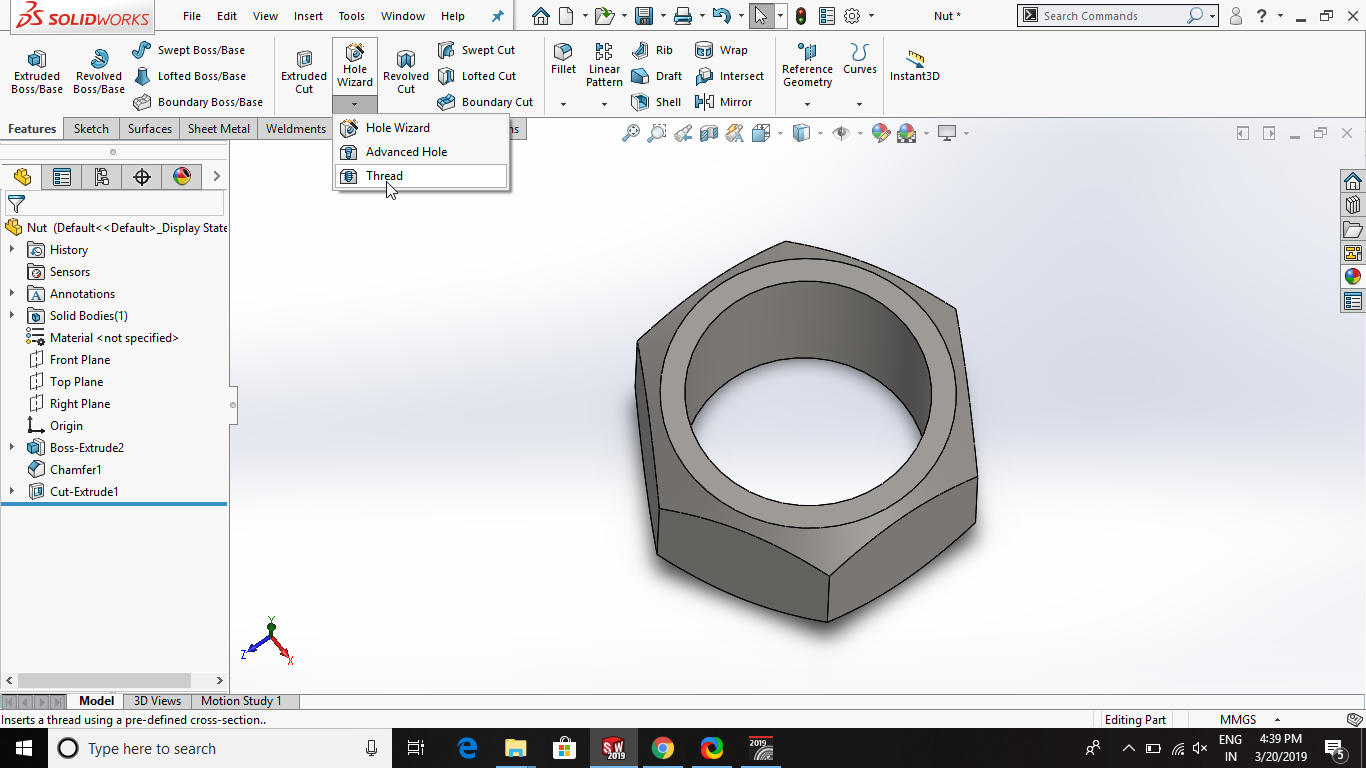
Step 5: Apply thread
Go to thread option

Select the lateral edge and end condition and set the parameters as shown below

-
Step 6: Rendering
Apply the appearance on it. The final product will look like this


